Fixing ripped clothes was one of many reasons for sewing in the past. Nowadays, people all over the world enjoy sewing as a craft! But you can also use sewing to patch your jeans or other clothes. For any sewing plan, the first thing you should need to do is thread your needle. It’s easy, but it can be time-consuming for some people. This guide will help you out with threading a needle so you can start sewing anything you want!
Step 1: Choose a Needle that Fits your thread’s thickness.

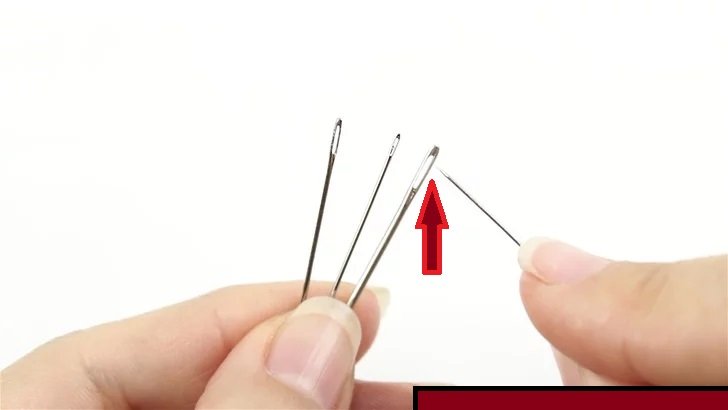
First things first, selecting the correct needle is crucial to a smooth sewing adventure. The eye of needle’s should be wide enough to accommodate your thread’s thickness comfortably. It’s frustrating and ineffective to attempt to thread a needle for hand sewing that is too thick for your needle or rattles around loosely in the eye.
What to Look For:
When choosing a needle, remember these tips:
- A larger needle (with a giant eye) is your best choice for thicker fabrics, and sew with a needle and thread for beginners.
- Fine needles with small eyes are great for delicate work, such as sewing.
- Always make sure your needle is sharp. A dull one can make pushing through the fabric and creating stitches difficult and could damage the thread.
- If you’re threading a needle for hand sewing, try a thimble, especially when pushing the needle through heavier or denser materials.
Step 2: Prepare Your Thread

The next step is to prepare your thread. Start by unspooling at least a foot (30 cm) of thread. This length gives you enough slack to work with without being too much to handle or risking tangles.
Thread Cutting Tips:
- Use sharp scissors or a rotary cutter to make a clean cut at the end of your thread. A worn end will be challenging to thread through the needle’s eye.
- If you’re working with a synthetic thread prone to unraveling, you can prevent fraying by lightly coating the thread end with clear nail polish or glue. Once it dries, trim it and thread it as usual.
Step 3: Insert the Thread through the Needle’s Eye

This step seems unreliably simple but can often be the most challenging. Once you have a clean cut, dip the end of the thread between your lips or use a bit of water. This makes the thread hard and helps to guide it through the eye of the needle.
Techniques to Try:
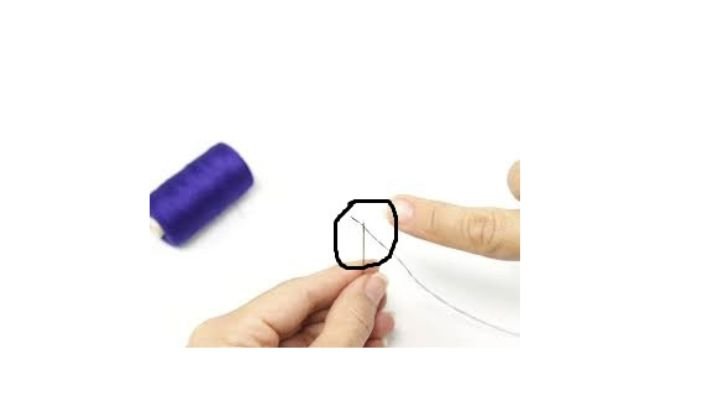
- Grab the needle in your other hand (not your writing hand) so the hole at the tip (the eye) points up at you.
- Pinch the very tip of the thread with your thumb and pointer finger.
- Carefully push the wet tip through the hole in the needle while squeezing the thread a little.
Step 4: Consider the Needle Threaded if you’re using a tiny needle

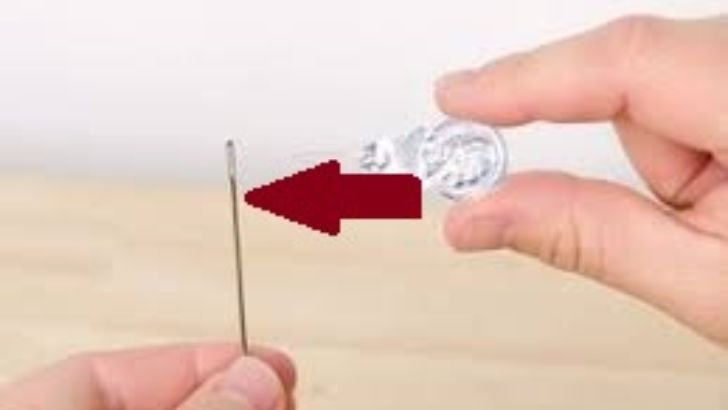
Needle threaders are small, low-cost sewing tools that can make this process much more manageable. They have a small wire or a piece of diamond-shaped metal that helps guide the thread through the needle.
How to Use a Needle Threader:
- Insert the wire through the needle’s eye.
- Place the end of the thread through the wire.
- Withdraw the wire, pulling the thread with it.
Step 5: Pull the thread through the needle to make a tail.

You have almost made it! Once your thread is through the eye of the needle, don’t let go. Pull it through until you have a length that you’re comfortable working with, usually around 4 to 6 inches (10 to 15cm). This excess tail will prevent the thread from being pulled through the needle as you sew.
Securing the End:
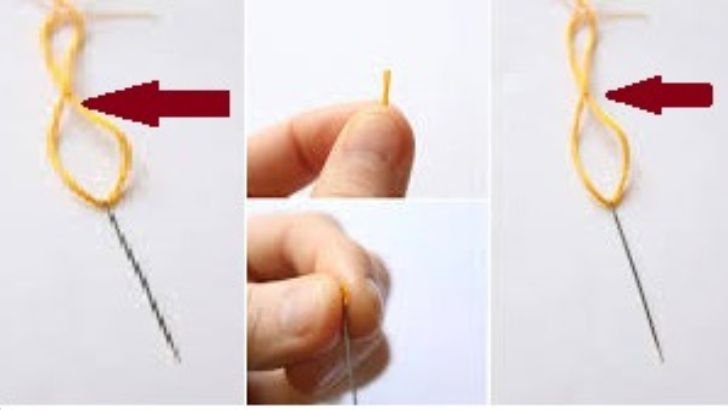
- If you’re starting, you should knot the end of your thread to the end you won’t be sewing with.
- If you’re starting from the middle of a thread, leave a small tail at the end of your thread and loop the tail in a knot. Pull until you have a secure knot at the end of your thread.
Once You Have Completed All The Above Steps, Now It is Necessary to Thread the Sewing Machine
Summary
Threading a needle is the first step in closely any sewing project. As simple as it sounds, it can be a significant hurdle to many beginner sewers. By choosing the correct needle, preparing your thread correctly, and using the instructions and techniques outlined, you can thread a needle successfully and embark on your trip to sew masterfully.
For more sewing tips and tricks, explore our blog or check out our collection of sewing guides. Then, you will know how to thread a needle for sewing. With a bit of practice, you’ll be quickly weaving needles, and your sewing projects will reflect your style and growing expertise in sewing. While sewing may be the earliest art form, understanding its techniques carries a sense of accomplishment and the joy of creating things with two hands. Remember, every stitch is a step toward successfully developing your skills and unleashing creativity. So, thread that needle and let the crafting begin.
FAQs: How to Thread a Needle for Sewing: Step-by-Step
Why is it necessary to thread the needle before sewing?
Threading a needle is an essential step in sewing as it allows you to form a stitch through the fabric. Without threading the needle, you won’t be able to sew at all.
What type of thread should I use for sewing?
The type of thread you use will depend on the fabric and project you are working on. Generally, a polyester or cotton all-purpose thread is suitable for most sewing projects.
How do I choose the right needle for my sewing project?
Needles come in different sizes, lengths, and types. Choose a needle based on the fabric and thread you are using. Thicker fabrics may require a larger needle, while delicate fabrics may need a finer needle. Also, consider the type of stitch you will be using.
How do I prepare the needle for threading?
Before threading the needle, make sure to trim the end of the thread to create a clean edge. You can also use a threader tool or moisten the tip of the thread to make it easier to pass through the eye of the needle.

