Threading a Kenmore sewing machine may seem difficult at first, but it’s a simple process when approached step by step just like we . Proper threading ensures smooth sewing and prevents frustrating issues such as skipped stitches or tangled thread. Whether you’re a beginner or need a refresher, this guide will walk you through each stage in a conversational manner, making it easy to follow and implement.
Understanding the Components of the Kenmore Sewing Machine
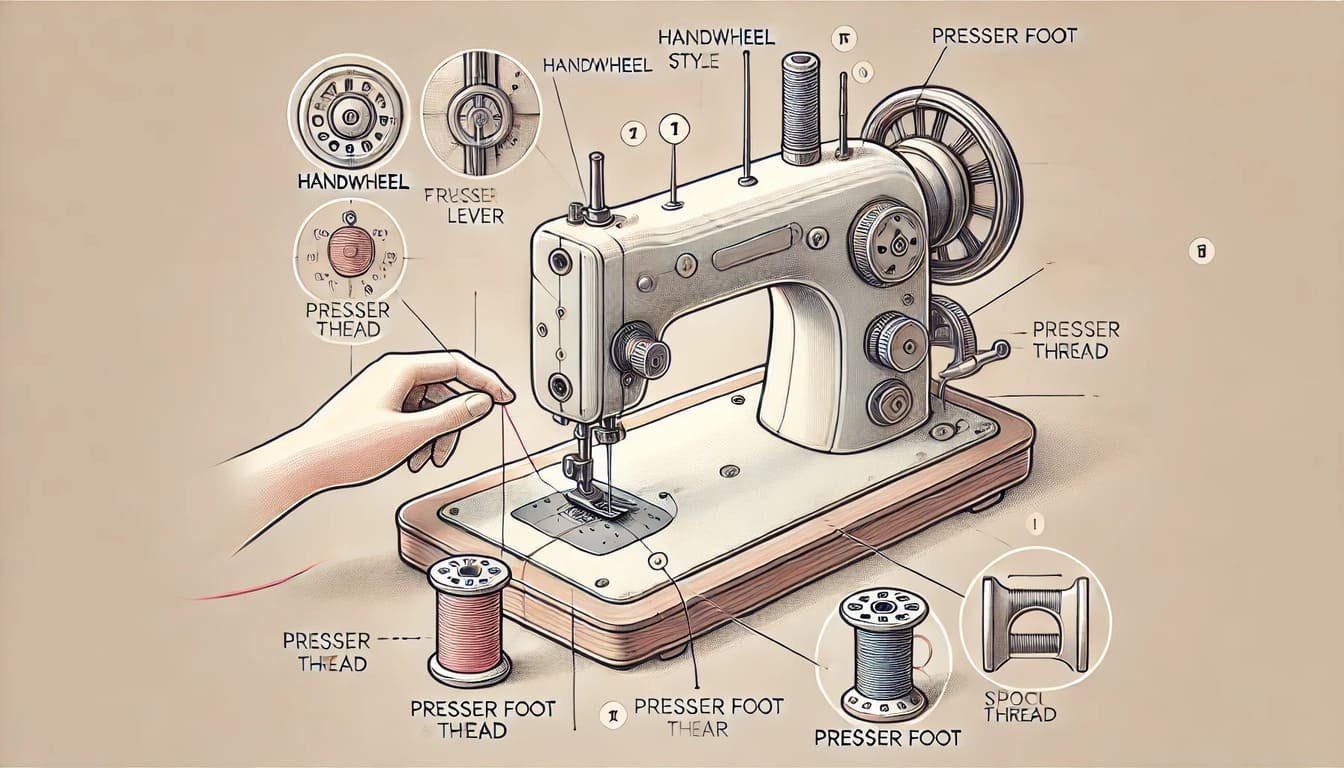
Before starting the whole procedure, you need to know the basic components of the Kenmore Sewing Machine:
- The Spool Pin – A small metal peg serving as a holder for the thread spool.
- The Bobbin Winder Tension Disc – A small adjustable disc next to the spool pin on machines with top-loading bobbins.
- The Bobbin Winder Thread Guide – A spring-loaded pin located near the bobbin winder spindle.
- The Thread Guides – A series of small loops and hooks to guide the thread through the machine.
- The Bobbin Case – The compartment in which the bobbin is housed during stitching.
- The Presser Foot – A hinged foot that holds the fabric in place against the sewing machine’s feed dogs, ensuring smooth stitching.
Threading A Kenmore Sewing Machine Step-by-Step
Now, let’s learn the complete process of threading a Kenmore sewing machine step by step.
-
Preparing Your Machine for Threading
Before you begin threading your sewing machine, ensure that it is ready for threading. Start by turning off the power switch. Safety should always be your first priority when working with a sewing machine, so unplugging it is also a good idea.
Once the machine is powered down, turn the handwheel toward you to raise the needle to its highest position. This positioning makes threading the machine much easier.
Next, raise the presser foot using the presser foot lever. Raising the presser foot opens the tension discs, allowing the thread to pass through smoothly. Without this step, the thread may not settle correctly, leading to tension problems during sewing.
Take a moment to gather your spool of thread and check that it matches the type of fabric and needle you’ll be using.
-
Placing the Thread on the Machine
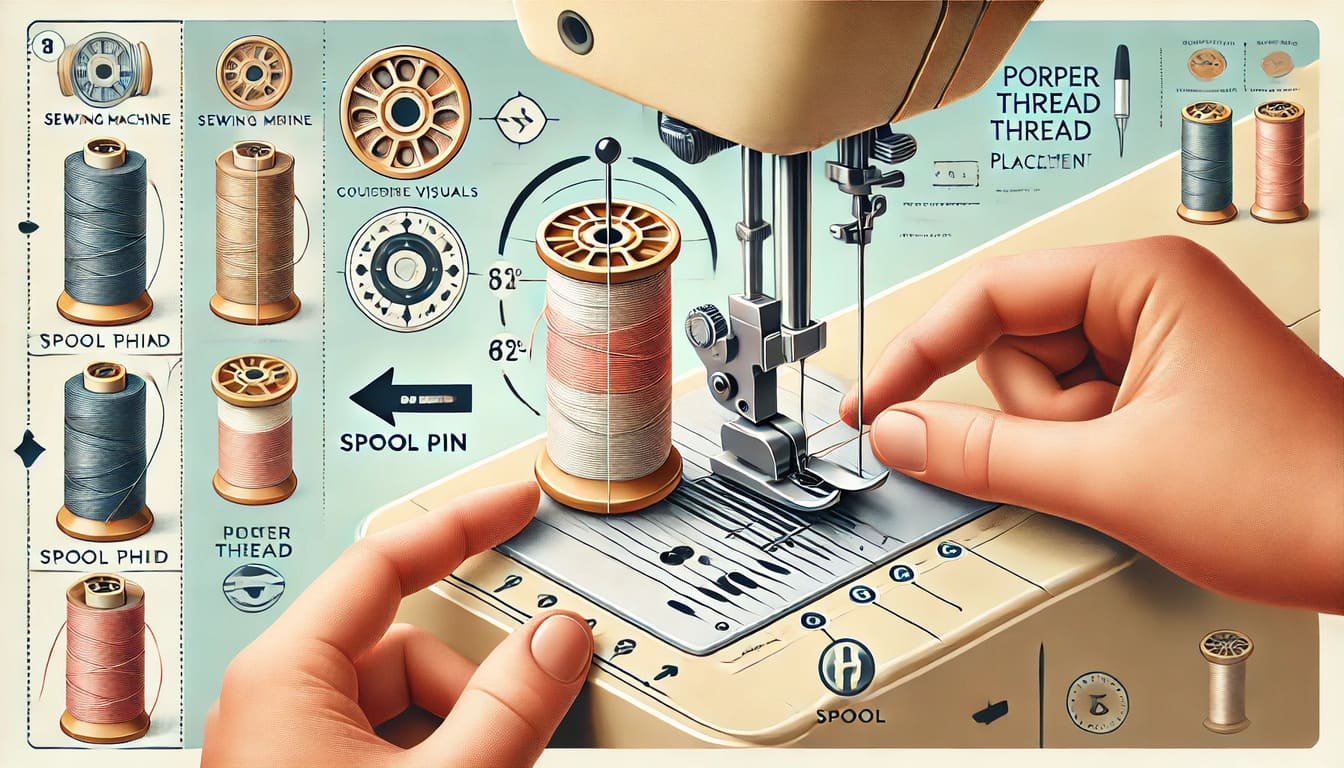
Start by locating the spool pin, similar to the process of setting up and threading your Singer 4423. On your Kenmore sewing machine, the spool pin is typically positioned at the top.
Place your spool of thread onto the spool pin, ensuring that the thread unwinds from the back of the spool. This placement helps maintain even tension while sewing.
Use a spool cap to secure the thread in place, especially if your spool pin is horizontal.
If the spool pin is vertical, you may not need the cap, but make sure the spool sits snugly to avoid wobbling.
-
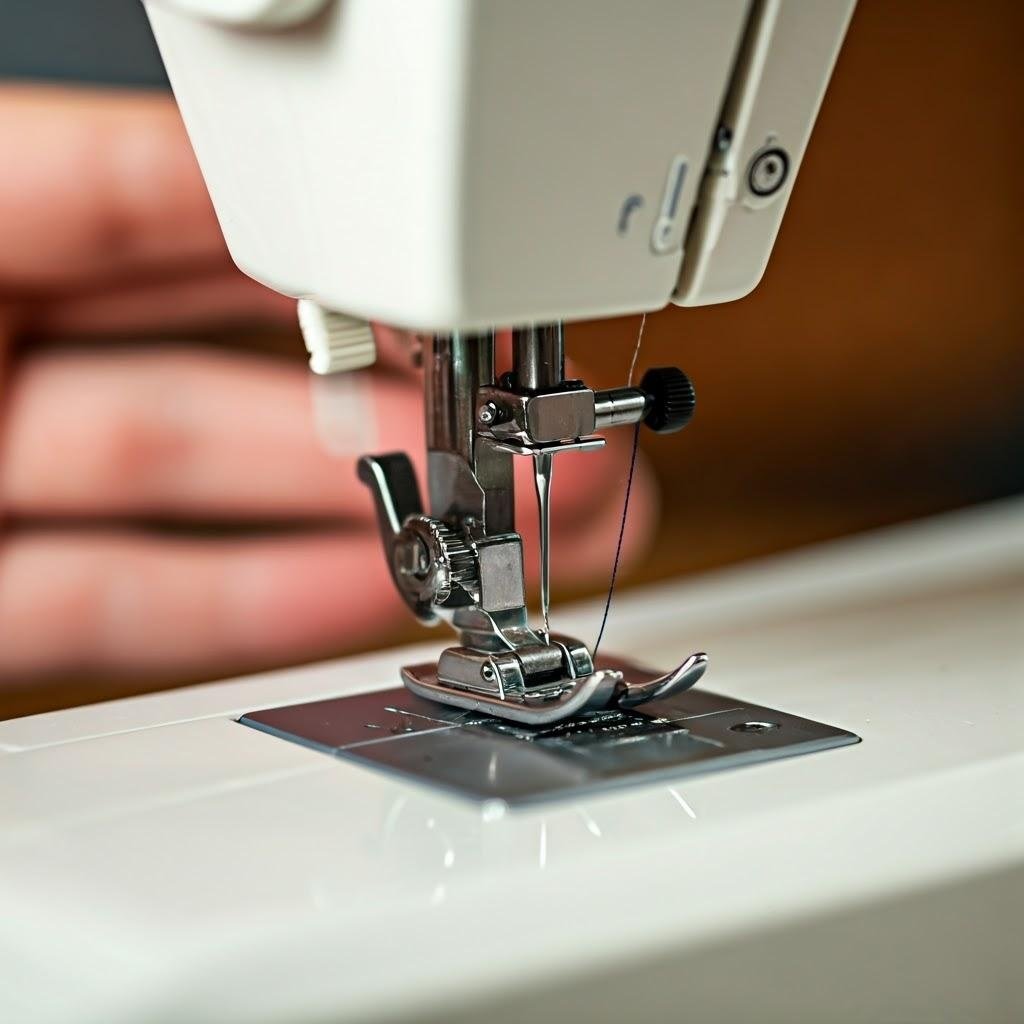
Threading the Upper Thread
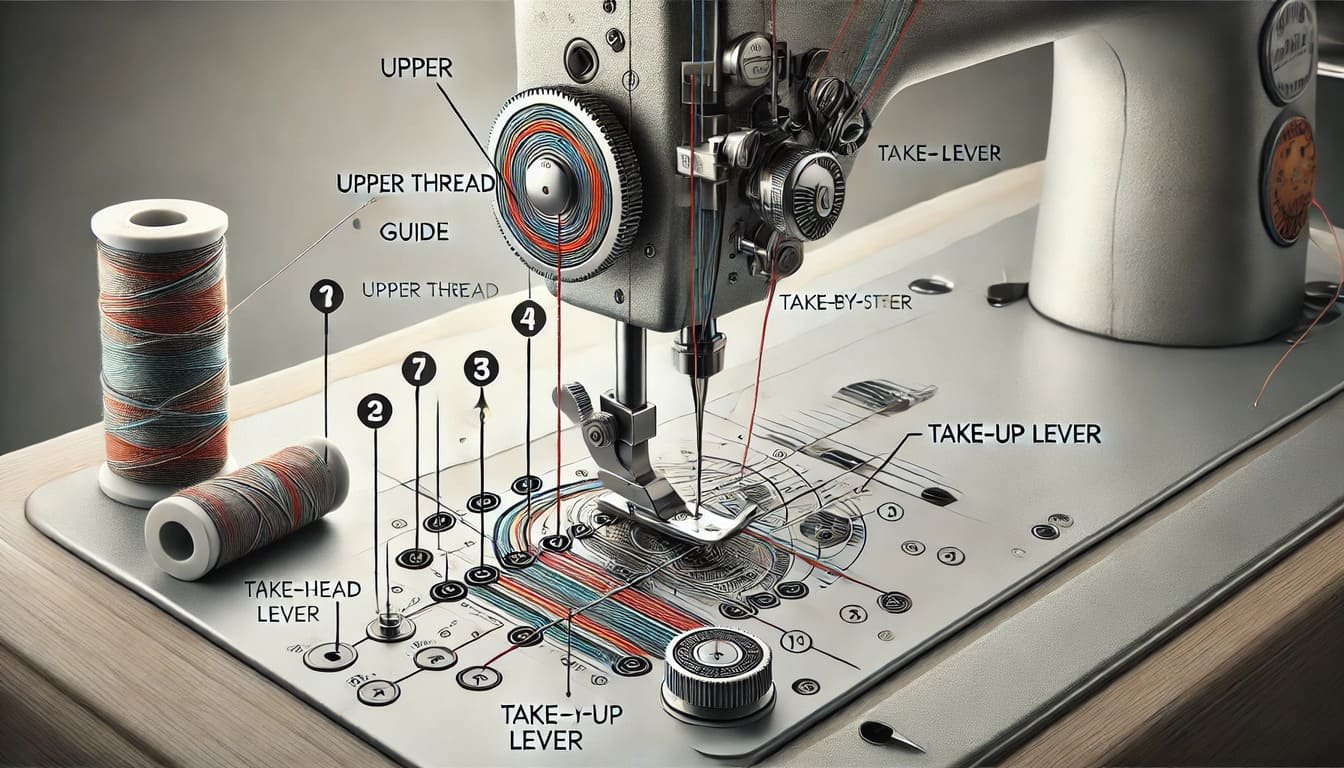
With the spool in place, pull the thread and guide it through the upper thread guide located near the top of the machine.
Most Kenmore sewing machines have numbers or arrows printed on the machine to indicate the threading path. Follow these guides carefully, as they make the process much simpler.
From the upper thread guide, bring the thread down into the tension area. This is where the thread passes between the tension discs.
To ensure the thread is properly seated, hold it with both hands and give it a slight tug.
You should feel it settle into place. After passing through the tension discs, pull the thread upward again toward the take-up lever. The take-up lever is a small metal arm that moves up and down as you sew.
Thread the take-up lever by guiding the thread through it from right to left. This step is crucial because the take-up lever controls the flow of thread during sewing.
Once the thread is secured in the take-up lever, pull it downward again and thread it through the remaining guides on the machine. These guides help keep the thread aligned as it moves toward the needle.
-
Threading the Needle
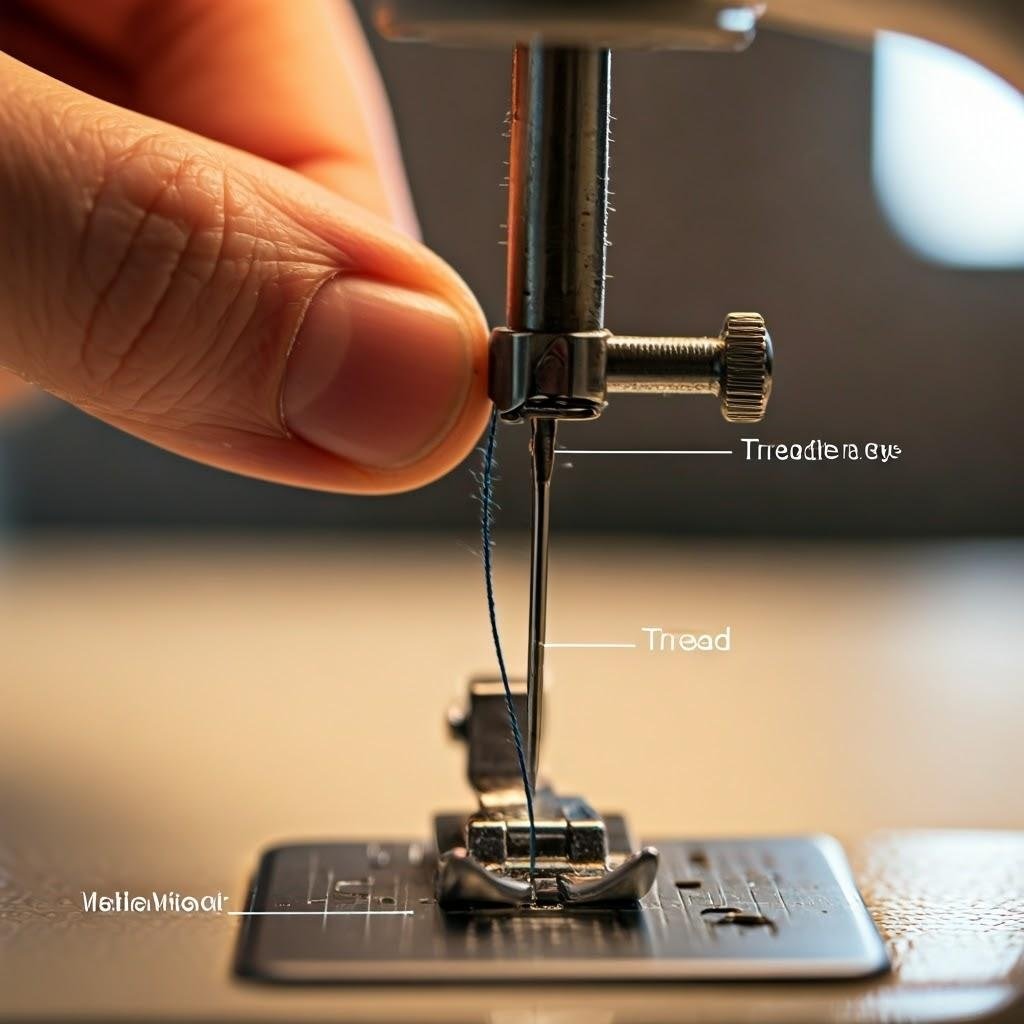
Threading the needle is the final step in preparing the upper thread. First, check that your needle is in good condition. A bent or dull needle can cause skipped stitches or damage your fabric.
If the needle needs replacing, loosen the needle clamp screw, remove the old needle, and insert a new one with the flat side facing away from you. Tighten the clamp screw to secure the needle in place.
To thread the needle, hold the thread with one hand and use your other hand to guide it through the eye of the needle from front to back. It can be helpful to cut the thread end at an angle with sharp scissors to make it easier to pass through the small opening.
Once the thread is through the needle, pull it down, leaving about four to six inches of thread hanging. This excess length ensures the thread doesn’t slip out during sewing.
-
Preparing the Bobbin Thread
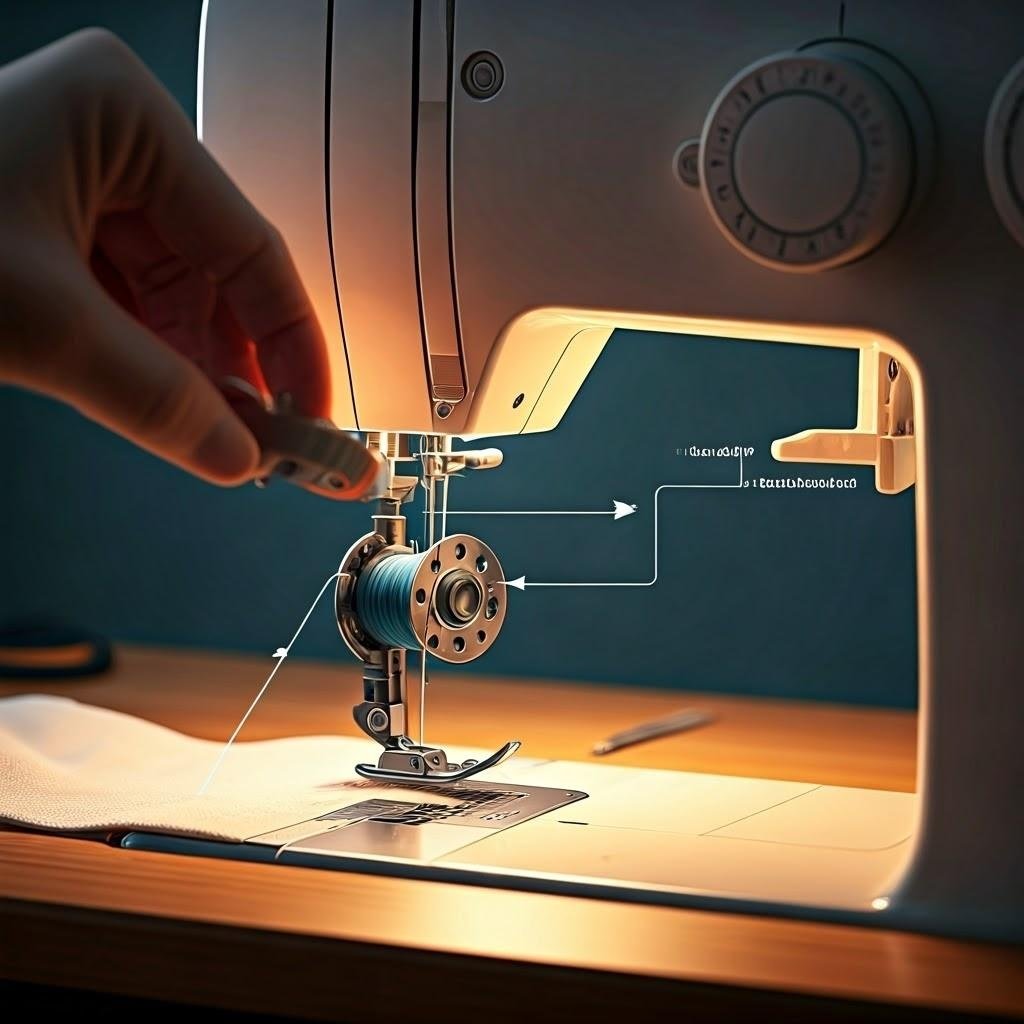
With the upper thread ready, it’s time to prepare the bobbin thread. Begin by removing the bobbin case from the machine.
Depending on your Kenmore model, this may involve sliding open a cover plate or pressing a release button. Once the case is exposed, take out the bobbin.
Place a wound bobbin into the bobbin case with the thread unwinding counterclockwise. Pull the thread through the tension slot on the bobbin case and allow a few inches of thread to extend outward.
If your machine has a drop-in bobbin system, simply place the bobbin directly into the designated compartment and guide the thread according to the arrows or diagrams near the bobbin area.
Reinsert the bobbin case into the machine, ensuring it clicks securely into place. For drop-in bobbins, replace the cover plate and ensure the thread tail remains accessible.
-
Picking up the Bobbin Thread
Now that both the upper and bobbin threads are in place, it’s time to bring the bobbin thread up through the needle plate.
Hold the upper thread lightly with your left hand, keeping it taut but not overly tight. Turn the handwheel toward you, completing one full rotation.
As the needle descends and rises, it will catch the bobbin thread and pull it up through the needle plate.
Once you see a loop of bobbin thread emerge, use a small tool or your fingers to pull it out. Gather both threads together and pull them toward the back of the machine under the presser foot.
Leave about four to six inches of thread extending behind the machine to ensure smooth sewing.
-
Testing the Threading
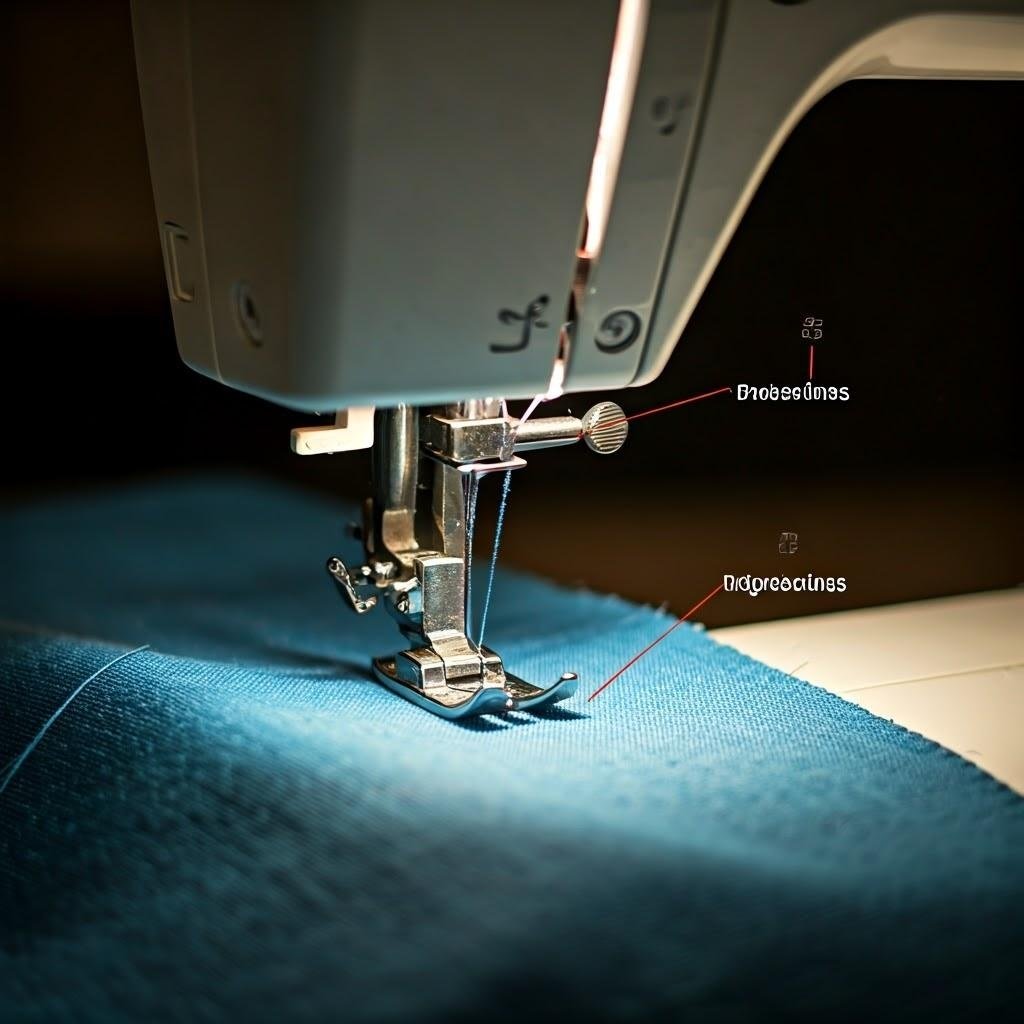
Before you start your sewing project, it’s a good idea to test the threading on a scrap piece of fabric. Place the fabric under the presser foot and lower the foot into position.
Slowly turn the handwheel or press the foot pedal to create a few stitches. Check that the stitches are even and that the threads move smoothly without tangling or breaking.
If you notice any issues, such as uneven tension or skipped stitches, double-check the threading path for both the upper and bobbin threads.
Ensure the tension settings are appropriate for your fabric and thread type. Making adjustments at this stage can save you a lot of frustration later.
Tips for Success: Threading a Kenmore Sewing Machine
- Use high-quality thread: Cheap or old thread can break easily and cause lint buildup in your machine. Invest in good-quality thread for the best results.
- Replace needles regularly: A dull or damaged needle can lead to poor stitching and even harm your fabric. Change needles frequently, especially when switching between different types of fabric.
- Clean and maintain your machine: Regular cleaning and oiling help keep your Kenmore sewing machine in top condition. Remove lint and debris from the bobbin area and feed dogs after each project.
- Refer to the manual: If you’re unsure about any step, consult your Kenmore sewing machine’s manual. It contains detailed instructions and diagrams specific to your model.
Conclusion
Threading your Kenmore sewing machine may take a little practice, but once you’ve mastered the process, it becomes second nature. By following these steps carefully, you’ll set yourself up for successful sewing projects with minimal disruptions. Remember to take your time, ensure each step is completed correctly, and don’t hesitate to consult your manual or seek help if needed. Happy sewing!
FAQs: How To Thread a Kenmore Sewing Machine
What type of thread is recommended for use with a Kenmore sewing machine?
It is generally recommended to use high-quality, all-purpose polyester thread when sewing on a Kenmore sewing machine. This type of thread is strong and durable, making it suitable for most fabrics and projects.
How do I load the bobbin on a Kenmore sewing machine?
To load the bobbin on a Kenmore sewing machine first, make sure you have the correct type and size of bobbin for your machine. Then, follow the instructions in your machine’s manual to properly insert the bobbin into its designated compartment.
How to adjust thread tension on a Kenmore sewing machine?
To adjust thread tension on a Kenmore sewing machine, locate the tension dial, usually marked with numbers. Increase the tension by turning the dial to a higher number or decrease it by turning it to a lower number. Test on a scrap fabric to ensure balanced stitches.
Can I use different types of needles with my Kenmore sewing machine?
Yes, you can use a variety of needle types with your Kenmore sewing machine, depending on the type of fabric and project you are working on. Be sure to consult your machine’s manual for recommended needle sizes and types.
How to thread a bobbin on a Kenmore 24-stitch sewing machine?
For a Kenmore 24-stitch sewing machine, place the thread spool on the spool pin and guide the thread through the bobbin winder thread guide. Insert the thread into the bobbin, place it on the winder spindle, and push it to the right. Hold the thread end and press the foot pedal to wind the bobbin. Stop when it is full and trim the excess thread.
How do I adjust the tension on my Kenmore sewing machine?
To adjust the tension on a Kenmore sewing machine, locate the tension dial or knob (usually located on the front of the machine) and turn it to a higher number for tighter tension or a lower number for looser tension. It may take some trial and error to find the correct tension setting for your specific project.
What is the correct way to thread a sewing machine?
The correct way to thread a sewing machine involves turning off the machine, raising the presser foot, and guiding the thread through the upper thread path. This includes passing the thread through the thread guides, tension discs, take-up lever, and finally the needle from front to back. Refer to your machine’s manual for the exact threading path.
What is a spool pin?
A spool pin is a part of the sewing machine designed to hold the thread spool in place. It can be vertical or horizontal and ensures the thread unwinds smoothly during sewing.
How to thread a Singer sewing machine step by step?
Turn off the machine raise the needle and press the foot. Place the thread on the spool pin and guide it through the thread path, including the thread guides, tension discs, take-up lever, and needle. Ensure the bobbin is threaded and properly placed. Pull both threads under the presser foot.
How to thread a Brother sewing machine?
Threading a Brother sewing machine involves placing the thread spool on the pin, following the threading path marked on the machine, and threading the needle from front to back. Ensure the bobbin is wound and inserted correctly. Pull both threads toward the back under the presser foot.
How to tie a thread on a sewing machine?
To tie a thread on a sewing machine, simply knot the ends of the upper and bobbin threads together to secure them after threading. This prevents them from slipping out during initial stitches.
How to put a needle in a Singer sewing machine?
Turn off the machine and loosen the needle clamp screw. Remove the old needle and insert the new one with the flat side facing the back. Push it up as far as it will go and tighten the screw securely.
How do you thread a spool on a Singer sewing machine?
Place the spool on the spool pin, ensuring the thread unwinds from the back. Guide the thread through the thread guides and tension discs, then thread the needle from front to back. Follow the specific threading diagram for your Singer model.